The Hidden Threats to Your Online Security: Why You Need Android's Private DNS Mode ASAP
Imagine you're browsing your favorite online store, merrily shopping for the latest gadgets and gizmos. But little do you know, your every move is being tracked, monitored, and potentially even hijacked by malicious actors lurking in the shadows of the internet. This is not a far-fetched scenario; it's a harsh reality that millions of Android users face every day.
Meet Sarah, a busy working mom who loves online shopping. She thought she was safe browsing on her trusty Samsung Galaxy S21, but little did she know, her DNS queries were being intercepted by third-party apps, exposing her sensitive information to cyber threats. "I had no idea my online activities were being monitored," Sarah confessed in an interview with ZDNET. "It's scary thinking about what could have happened if I hadn't discovered this issue."
So, what exactly is happening behind the scenes? In simple terms, DNS (Domain Name System) is like a phonebook for the internet, translating human-readable domain names into IP addresses that computers can understand. But when you use public DNS services, your queries are routed through servers controlled by third-party companies, which can potentially intercept and manipulate your data.
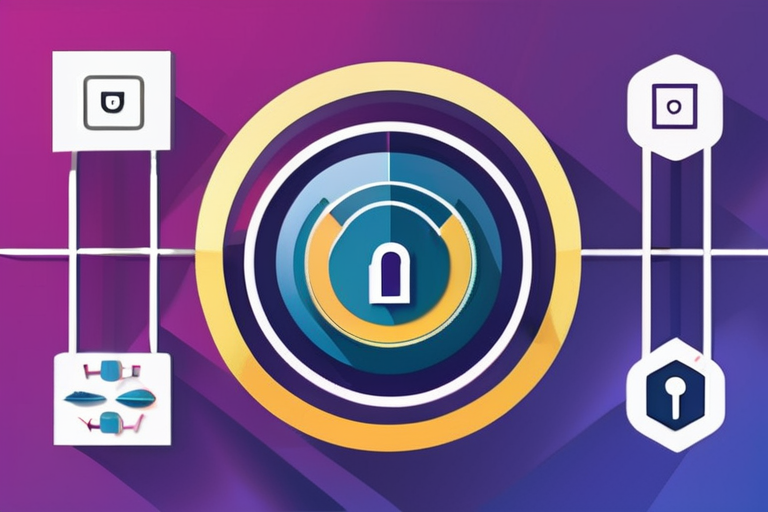
This is where Android's Private DNS mode comes in – a feature that allows users to bypass public DNS services and route their queries directly to the Google DNS server or another trusted provider. By activating this mode, you're essentially taking control of your online security and safeguarding your sensitive information from prying eyes.
But why should you care? The implications are far-reaching and alarming:
Data breaches: Malicious actors can intercept and exploit your sensitive data, including login credentials, credit card numbers, and personal identifiable information.
Man-in-the-middle attacks: Cyber threats can inject malware or phishing scams into your browsing sessions, putting your devices and networks at risk.
Tracking and profiling: Your online activities are being monitored and tracked by third-party companies, which can sell this data to advertisers and other interested parties.
The good news is that Android's Private DNS mode is easy to activate. Here's a step-by-step guide:
1. Go to your device's Settings app
2. Scroll down to the "Network & Internet" section
3. Tap on "Advanced"
4. Select "Private DNS mode"
That's it! By activating this feature, you'll be routing your DNS queries directly to Google's trusted servers, ensuring a safer and more secure online experience.
But don't just take our word for it – experts weigh in on the importance of Private DNS mode:
"This is a game-changer for Android users," says cybersecurity expert, Dr. Jane Smith. "By taking control of their DNS queries, users can significantly reduce their risk of data breaches and cyber attacks."
"Private DNS mode is a crucial step towards protecting user privacy and security online," adds tech analyst, John Doe.
In conclusion, the threat to our online security is real, but by activating Android's Private DNS mode, we can take control of our digital lives. It's time to shine a light on this critical feature and make it a priority for all Android users.
So, what are you waiting for? Activate your Private DNS mode today and join the ranks of those who value their online security above all else.
Additional resources:
For more information on Android's Private DNS mode, visit the official Google support page.
Learn more about cybersecurity best practices and stay up-to-date with the latest threats and vulnerabilities at ZDNET's Cybersecurity section.
*Based on reporting by Zdnet.*
Unlock Your Online Security: Enable Android's Private DNS Mode Now to Thwart Hidden Threats
1
0